In MailChimp a Webhook is used to collect information related to the list for which you create a webhook for. Webhooks generally collect data when the list has updates such as subscribes, unsubscribes, profile updates etc. You can easily create a webhook which would post data to your application using the webhook url specified for the list.
Here are the steps that you can follow to create a mailchimp webhook if you need to automatically collect information related to a list.
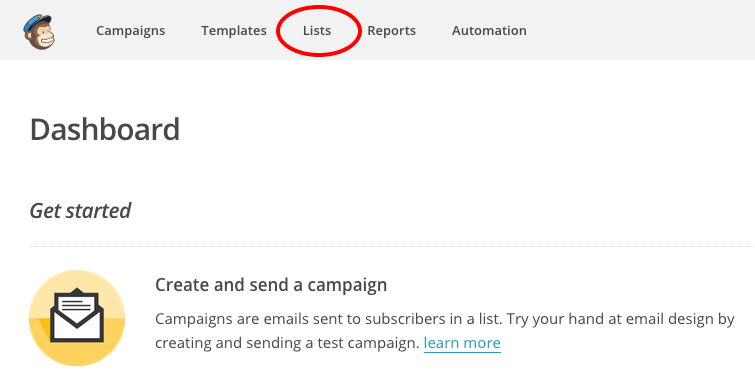
In order to create a webhook, first login to your mailchimp account and then click on the lists menu on the top.
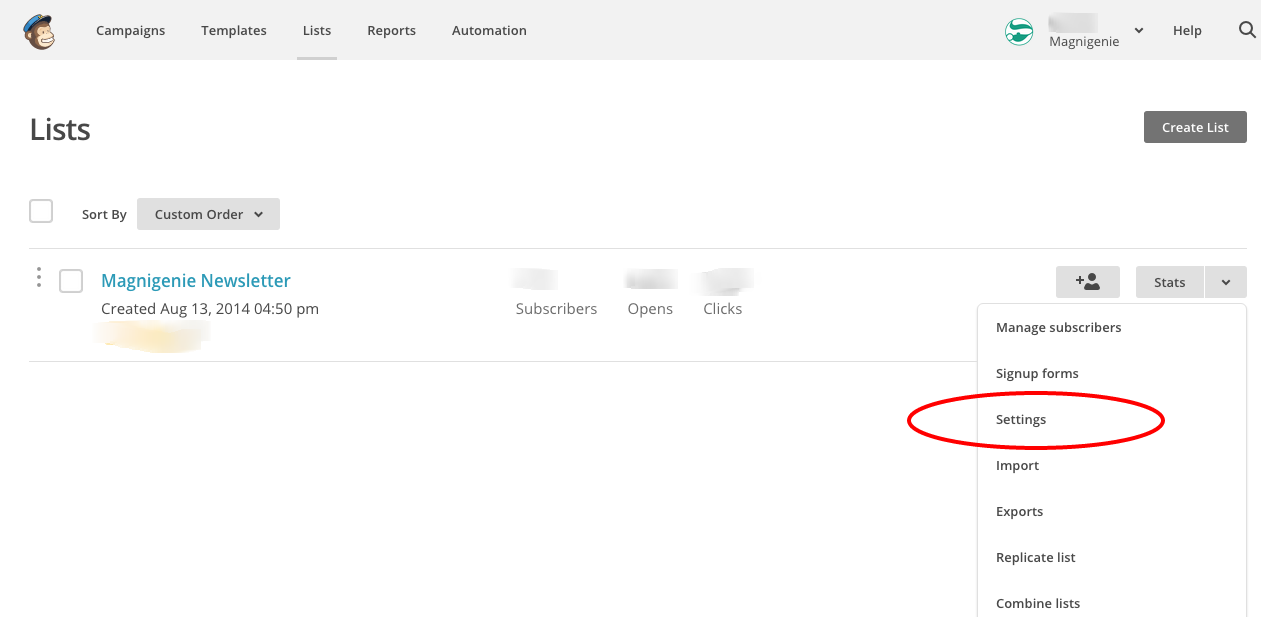
Once you click on the lists you can see all the lists you have created. Then just choose the list you want to add a webhook for and click on the down arrow near stats and then select settings from the dropdown menu.
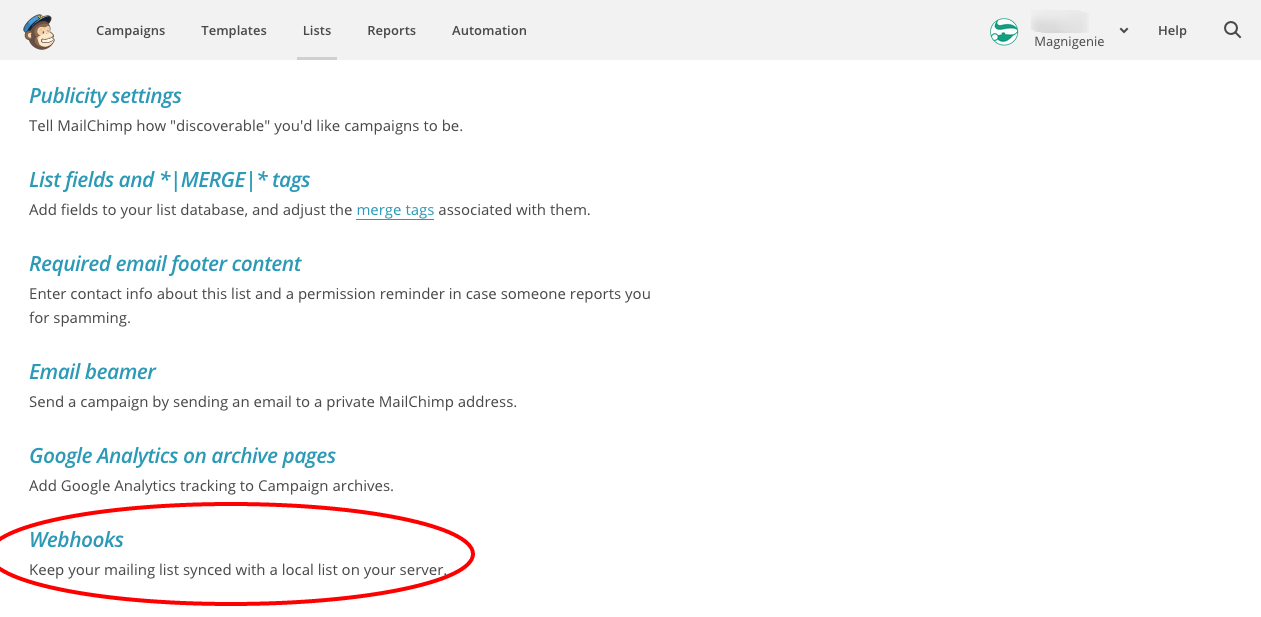
Once you will click on the settings then you will be brought to settings and page then just select webhooks from the settings.
Once you click on the webhooks link then you will land on a page where you can add/edit hooks. Just click on Create New Webhook button on the top right.

Once you click on create new web hook link then you will arrive on the page where you can add the details about the webhook you are willing to create.
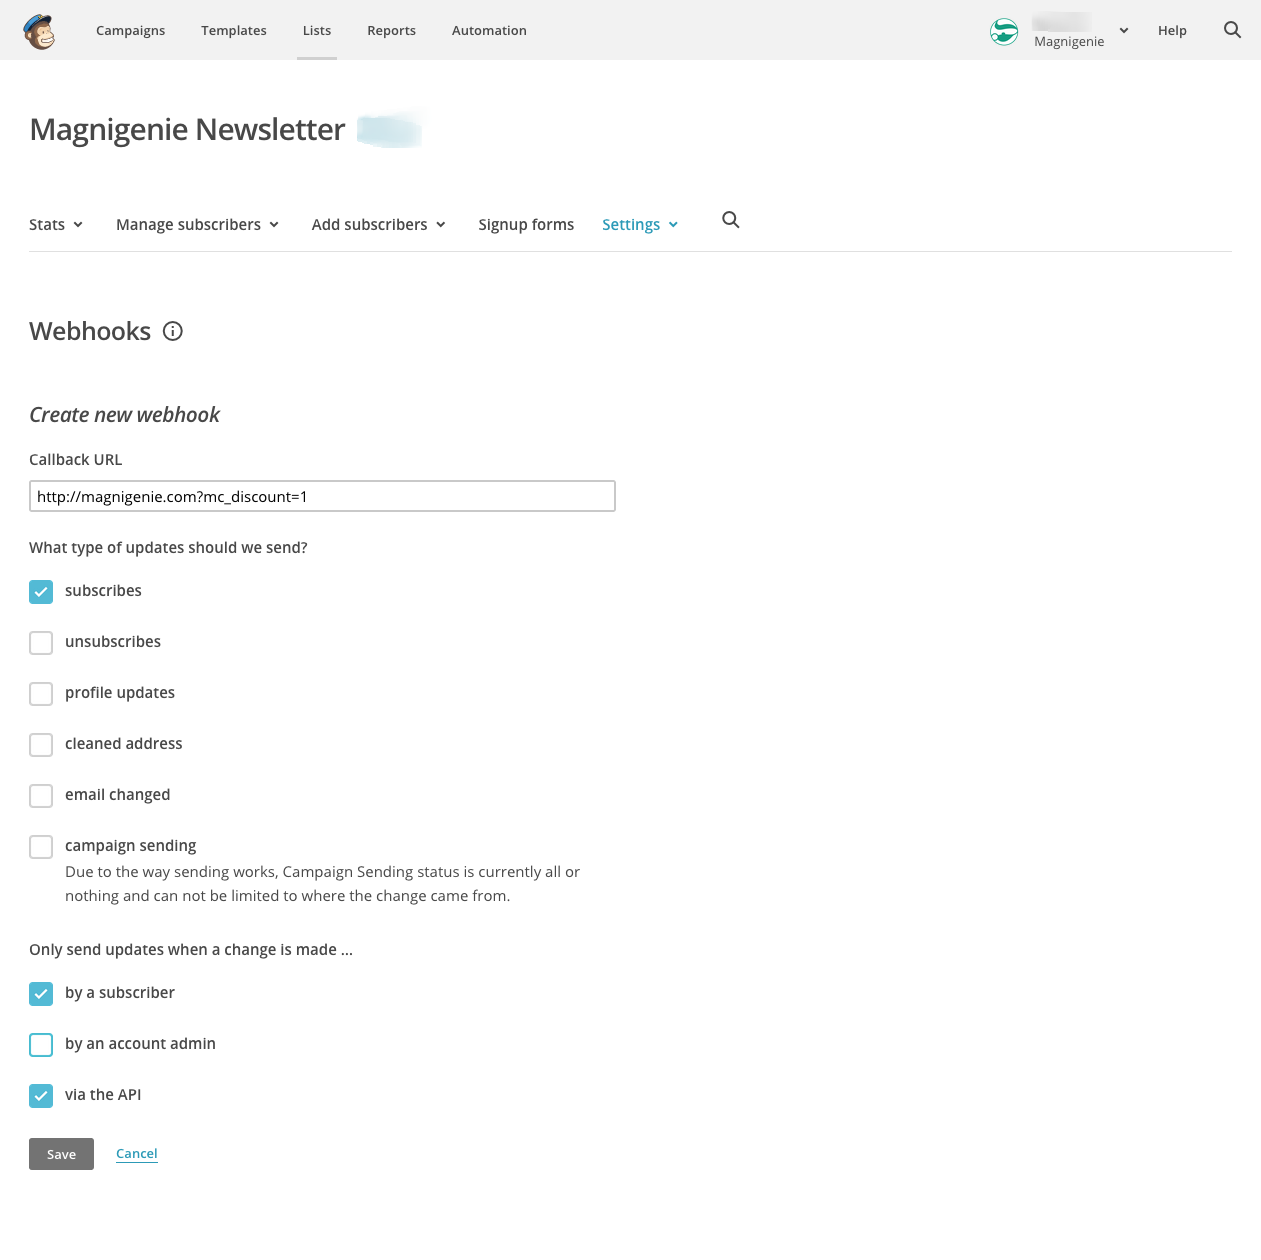
Once you are on that page just enter the details and select your options and then click on the save button.
If you are trying to setup webhook for WooCommerce Mailchimp Discount then follow the following steps.
Once you have done the above steps just save it and you can easily use double optin for WooCommerce Mailchimp Discount
Leave your comments or mail us if you have any queries.
